Creating a Cluster
Info
To create a cluster with pgEdge Distributed Postgres Cloud Edition, you must have a linked Cloud provider account.
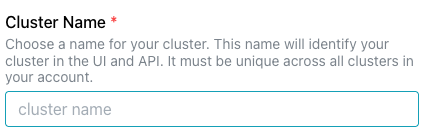
To create a cluster, navigate to the Clusters page and select the
+ New Cluster button. When the Create New Cluster page opens,
provide a unique name for the cluster in the Cluster Name field.
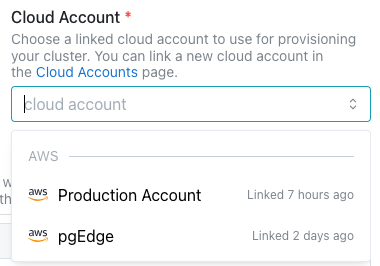
Use the drop-down listbox in the Cloud Account field to select the
cloud provider account
used to provision the cluster.
Select up to 5 availability zones in any regions accessible from the
cloud provider account. Use the Show map toggle to enable the map
for location selection.
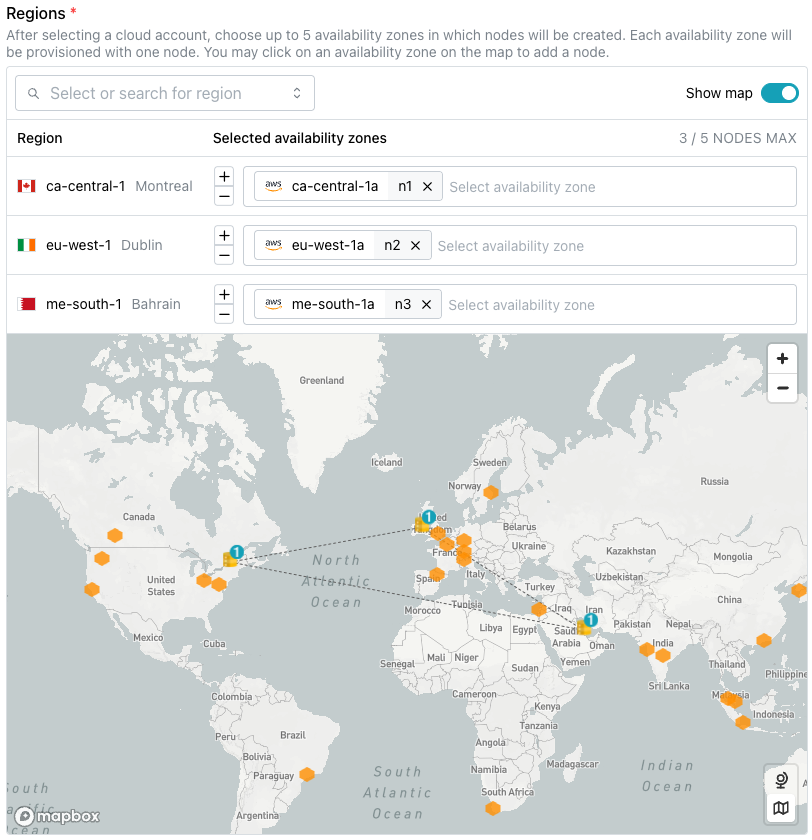
To define the cluster deployment using the drop-down fields, first select
the region for node deployment. The region name is displayed in the list
of selected Regions after selection.
Use the +/- control or the drop-down list to the right of the Region
name to select from the supported Availability Zones for node deployment.
One node is deployed in each listed zone; use the X in the zone icon
to remove a zone from the deployment list.
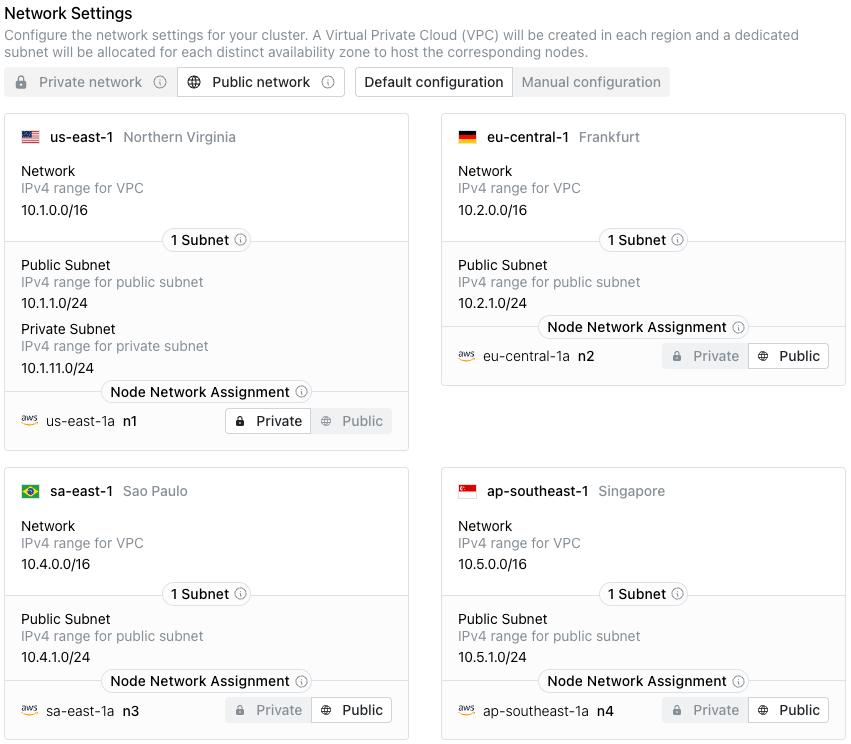
Each region in which the cluster is deployed is represented by a pane in
the Network Settings section; within each region, subnet details for
each availability zone are displayed. Toggles at the top of the
Network Settings section control the network assignments for the
cluster:
-
Use the
Configurationtoggle to accept theDefault configurationfor address assignments, or move the toggle toManual configurationto specify custom address assignments. -
Use the
Network Typetoggle to specify whether the connection values for the cluster usePublicorPrivateaddresses: -
Publicnetwork clusters have IP addresses assigned to each node that are accessible from the public internet. Privatenetwork clusters are not accessible from the public internet.
Within each pane, the Node Network Assignment label lists the
provider-assigned region, the node name (n followed by a number),
and a toggle that specifies the network assignment for that node.
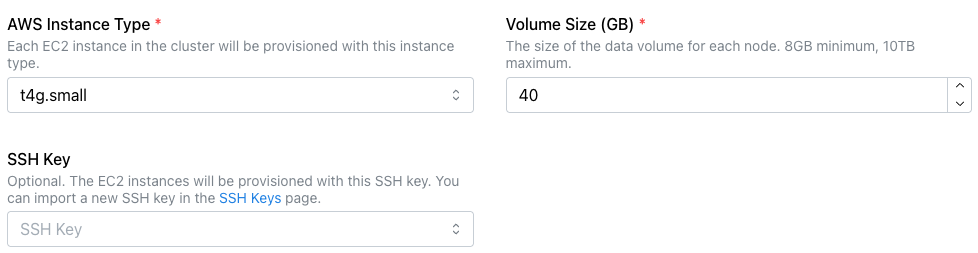
Specify the vendor-specific deployment details for the cluster.
-
Use the
Instance Typedrop-down to select the size and configuration of the cluster instance type. Each node in the cluster resides on the selected instance type; the instance type is one factor in determining the operating cost of the cluster. -
Use the
Volume Size (GB)field to specify the size of the data volume for each node of the cluster. Volume size must be between 8 GB and 10 TB. -
Use the
SSH Keydrop-down to select a key pair from the list of imported key pairs. A key pair is required to SSH to a cluster; without a key, connections to databases provisioned on the cluster are available, but SSH connections to the host are not.
Optionally, select the
Backup Stores
available for database backups and log file backups for the new cluster.

As you define backup stores, remember that selecting backup stores near your cluster nodes will reduce network latency during the backup process. Use the drop-down field or select locations on the map to include a specific store.
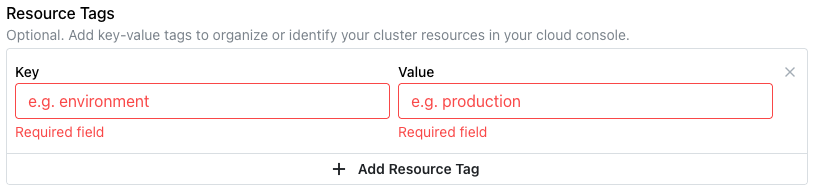
A Resource Tag is a user-defined key/value pair
attached to a cluster definition. The tag is displayed under the cluster
name on the Clusters page. Use tags to categorize cloud resources or
search for resources used by specific teams or applications. For example,
a tag that specifies team/db-ops makes it easy to identify resources
used by the db-ops team.
To add a resource tag, select Add Resource Tag and specify the Key
and Value; the terms are displayed with a / delimiter.
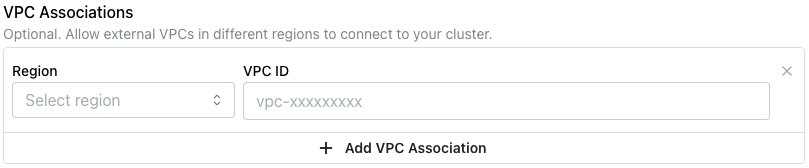
Define a VPC association to configure VPC peering and, if needed, private zone routing between any defined VPCs and the pgEdge cluster network. Peering allows an application to connect seamlessly to any node across regions, enabling latency routing and DNS failover. VPC associations are currently only available for AWS.
Use the VPC Associations fields to add any defined VPCs that require
access to the cluster.
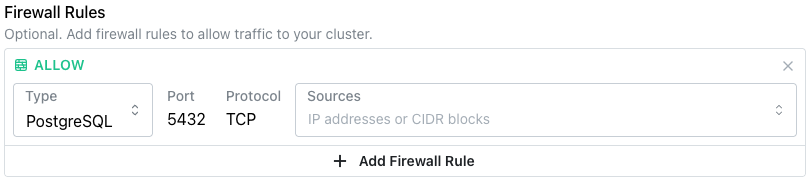
Use the Firewall Rules field to open ports on each node
of the cluster for connections. Select the + Add Firewall Rule icon to
add a rule.
-
Use the
Typedrop-down to select the connection type for the rule:- Select
PostgreSQLto create a connection to port5432; this is the default port used by clients that query the database. - Select
HTTPSto open port443for secure communication between PostgreSQL and a web server. - Select
SSHto open port22for SSH connections.
- Select
-
Use the
Source Typeselector in the right column to specify the type of connection source allowed to connect with this rule. The following options are available:- An IP address, specifying a single host or CIDR block.
- A prefix list, specifying a managed set of CIDR blocks.
- A security group, specifying a set of AWS instances.
-
Use the
Sourcesfield in the left column to specify the connection source allowed access to the cluster with the rule:- To remove a source, select the
Xin the rule'sSourcesfield. - To add a source, select the
Sourcesfield and choose from the predefined options, or type directly in the field.
- To remove a source, select the
-
Use the
Applies Toselector to choose the node or nodes to which the rule applies.
After providing rule details, select the + Add Firewall Rule button
to add another rule to the list. To remove a rule from the list, select
the X in the upper-right corner of the rule box.

Note
Client software cannot connect to the OS or databases on the cluster if ports are not opened for connection.
The Options section provides the option to create the cluster as a
single-database cluster.

Single database clusters provide the following benefits:
- A single-database cluster allows connections to the database with an IP address rather than a domain name.
- A single-database cluster allows connections via DNS names and records created outside of the pgEdge console.
- A single-purpose, dedicated cluster guarantees that all cluster resources are available for the single database.
After completing the dialog, select the Deploy Cluster button to
deploy a provisioned cluster.
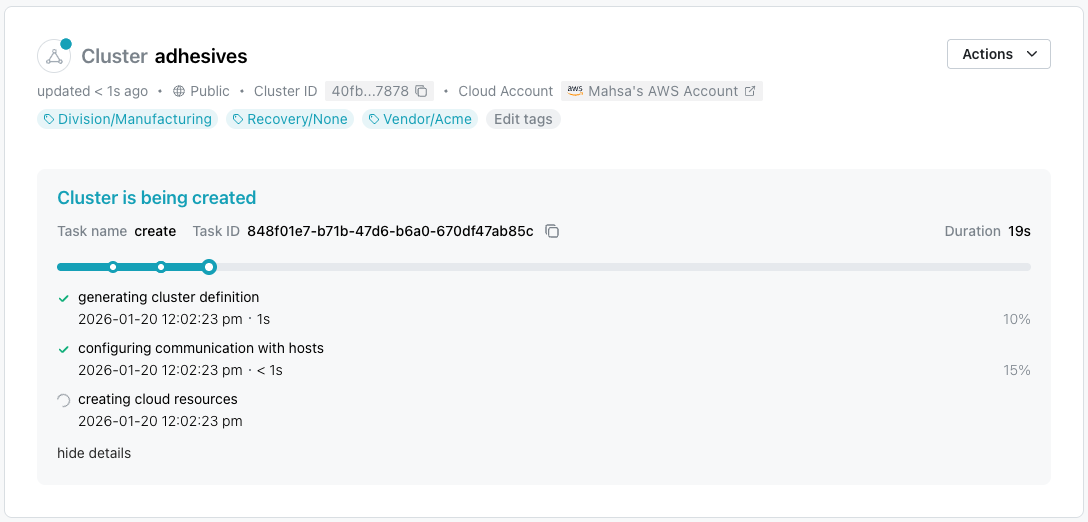
A progress bar tracks the deployment through each step; when the cluster is ready to use, it is added to the list of clusters in the navigation tree.
If errors occur during cluster creation, see the Troubleshooting section.